Your Silhouette Cameo is a versatile cutting machine that can handle a variety of materials and projects, from vinyl decals and paper crafts to fabric and cardstock.
However, it’s not a perfect machine and often times you will find it randomly starts cutting way off. This can be frustrating but there are a number of easy fixes.
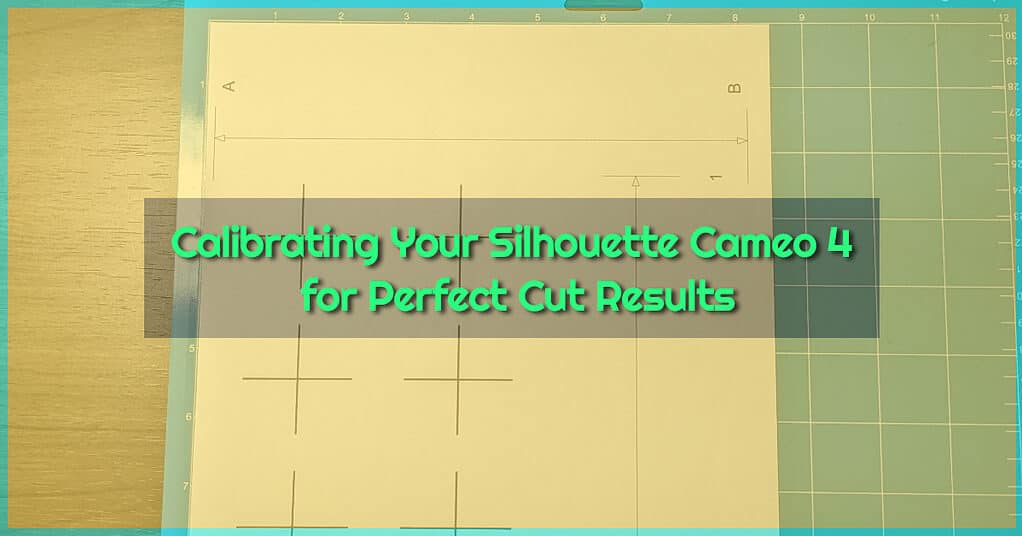
In order to achieve the best possible cut results, it’s important to calibrate your machine on a regular basis. In this article, I’ll walk you through the steps to calibrate your Silhouette Cameo, so you can enjoy precise and accurate cuts every time.
How to calibrate silhouette cameo 4
So there are two main methods of calibrating your cameo 4. The official way is print & cut alignment, which is done in silhouette studio, and there is an unofficial way that is super easy and works every time for me.
Let’s first take a look at the way Silhouette recommends you calibrate your machine.
Calibrating your Silhouette Cameo 4 In Silhouette Studio
Calibrating your Silhouette Studio machine is essential for ensuring accurate cuts every time. This should be done the day you take your new cameo 4 out of the box, and once monthly to ensure your cuts stay accurate.
Step 1: Update Silhouette Studio Software
Before getting started, make sure that you have the latest version of Silhouette Studio installed on your computer. This is important as the latest software updates often include bug fixes and improvements that can affect the accuracy of your cuts.
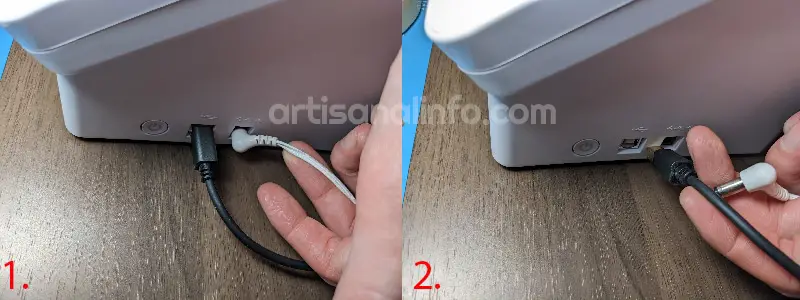
Step 2: Connect Your Machine
Ensure that your Silhouette machine is powered on and the USB cord is connected to your computer. This will allow you to access the SEND panel in Silhouette Studio.
Step 3: Print Test Page
In the SEND panel, right-click on the machine in the lower left-hand corner, and select “Calibration.” Then, click on the “Print Test Page” button to print the calibration page displayed on your screen.
Make sure to print the page on plain white copy paper.

Step 4: Load Blade or Sketch Pen
If you have a sketch pen, we recommend using it instead of a blade as it will make the resulting action easier to observe. However, if you are using a blade, make sure it is loaded into your Silhouette machine.
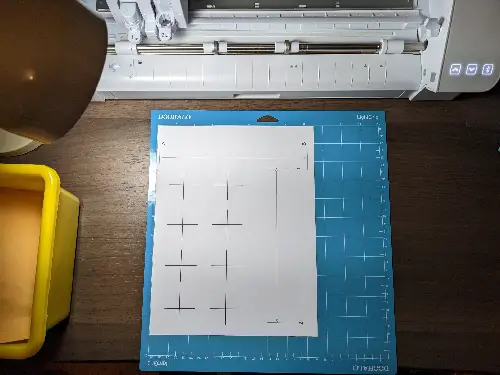
Step 5: Place Printed Page on Cutting Mat
Place the printed calibration page onto your cutting mat exactly as displayed on the screen in Silhouette Studio. Then, load your cutting mat into the Silhouette machine.
Step 6: Calibrate the Machine
Use the blue position arrows on the screen, located next to the “Calibrate” button, to adjust your blade/pen so that it’s hovering over the first printed cross mark in the green area represented on the screen. Note that the green area isn’t actually printed.
Once in place, click the “Calibrate” button. The machine will attempt to read the cross mark and cut or sketch on top of it.
Step 7: Observe the Resulting Cut/Sketch Marks
Remove the cutting mat from the machine and observe the resulting cut or sketch marks as they relate to the printed mark.
If the resulting cut or sketch marks are aligned properly on top of the printed cross mark (both the vertical and horizontal lines), then calibration is not necessary, and you can stop.
Step 8: Adjust the Measurements
If the cut or sketch marks are misaligned vertically or horizontally, use a ruler with millimeter measurements to determine the distance between the performed cut or sketch line and the printed line.
If the horizontal line is off, either above or below the printed line, adjust the vertical slider on your screen based on your measurement. If the vertical line is off, either to the right or the left of the printed line, adjust the horizontal slider on your screen based on your measurement.
Step 9: Check Your Adjustments
After adjusting the measurements as needed, repeat steps 5-7 to check your adjustments.
Make sure to move your blade/pen to the next unused cross mark to view fresh results. Continue to make adjustments as needed until the cut or sketch lines are aligned with the printed lines.
Secret cameo 4 calibration trick
Now, let’s get on to the “secret” trick I’ve been using to calibrate my cameo 4 in a much faster way.
To quickly and easily calibrate your cameo 4 start by unplugging both the computer and the power source.
Then, manually move the tool carriage to the right and then back to the left, repeating this process three times.
Once you’ve finished, turn the machine back on and let the tool carriage reset itself.
Your CAMEO 4 should now be calibrated, ensuring that all cuts will commence precisely.
Maintaining Your Silhouette Cameo
In addition to regular calibration, there are a few other steps you can take to maintain your Silhouette Cameo and keep it running smoothly.
- Keep the cutting mat clean and free of debris. A dirty cutting mat can negatively impact the accuracy of your cuts.
- Replace the blade when it becomes dull. A dull blade can cause inaccurate cuts and damage your material.
- Store your Silhouette Cameo in a clean, dry place when not in use. This will help protect it from dust and moisture.
By following these simple steps, you can ensure that your Silhouette Cameo continues to provide precise and accurate cuts for all of your projects.
I’ve been an Etsy seller and Artisanal creator for over 8 years now and have gained so much valuable experience along the way that I would like to share with you. Read more about me here

what a dumb article. You dont even properly explain how the printing works for the calibration page, or people who don’t have a home printer. WTF Joshua?
Hey John! Perhaps you missed this part of the post:
“In the SEND panel, right-click on the machine in the lower left-hand corner, and select “Calibration.” Then, click on the “Print Test Page” button to print the calibration page displayed on your screen. ”
If you don’t own a home printer, you can not perform calibration.